
DO WHAT NOW? Get your video game controller to do stuff in Live.
DO WHY? Because doing so is awesome. Duh!
DO HOW? This is where it gets tricky. But not that tricky.
MIDI or KEY mapping? Key mapping alone is groovy, but you are limited to toggling between two values. That’s no fun for a filter sweep! With 0-127 ranges you can map that analog joystick to control knobs and faders with full precision.
STEP 1: Find a program to convert game controller input to midi and/or keyboard mappings
STEP 2: Map stuff to things and stuff
ON MAC
On my old macbook which i stopped using a couple years ago, I used to use ControllerMate for keyboard mappings and OSCulator for midi.
I think that ControllerMate is a badass program. It has a really cool modular programming flow (somewhat reminiscent of max for live) which is fun and very powerful to come up with nifty ways to set up how controller inputs react. You can, for example, make a button so that it has “hold” instead of “toggle” behaviour (much more useful for using gamepad buttons to turn effects on and off on the fly since you don’t have to remember which are on or off… just let go of all buttons to turn off all effects), set up a button so that each press cycles between different actions, make “combo” actions which are only triggered when multiple buttons are pressed at the same time, and much much more. Back when i used it, there was no midi control option, but apparently they have that capacity now, which i think would exponentiate the capabilities (if you would like to buy me a new macbook i would be happy to give it a fresh investigation).
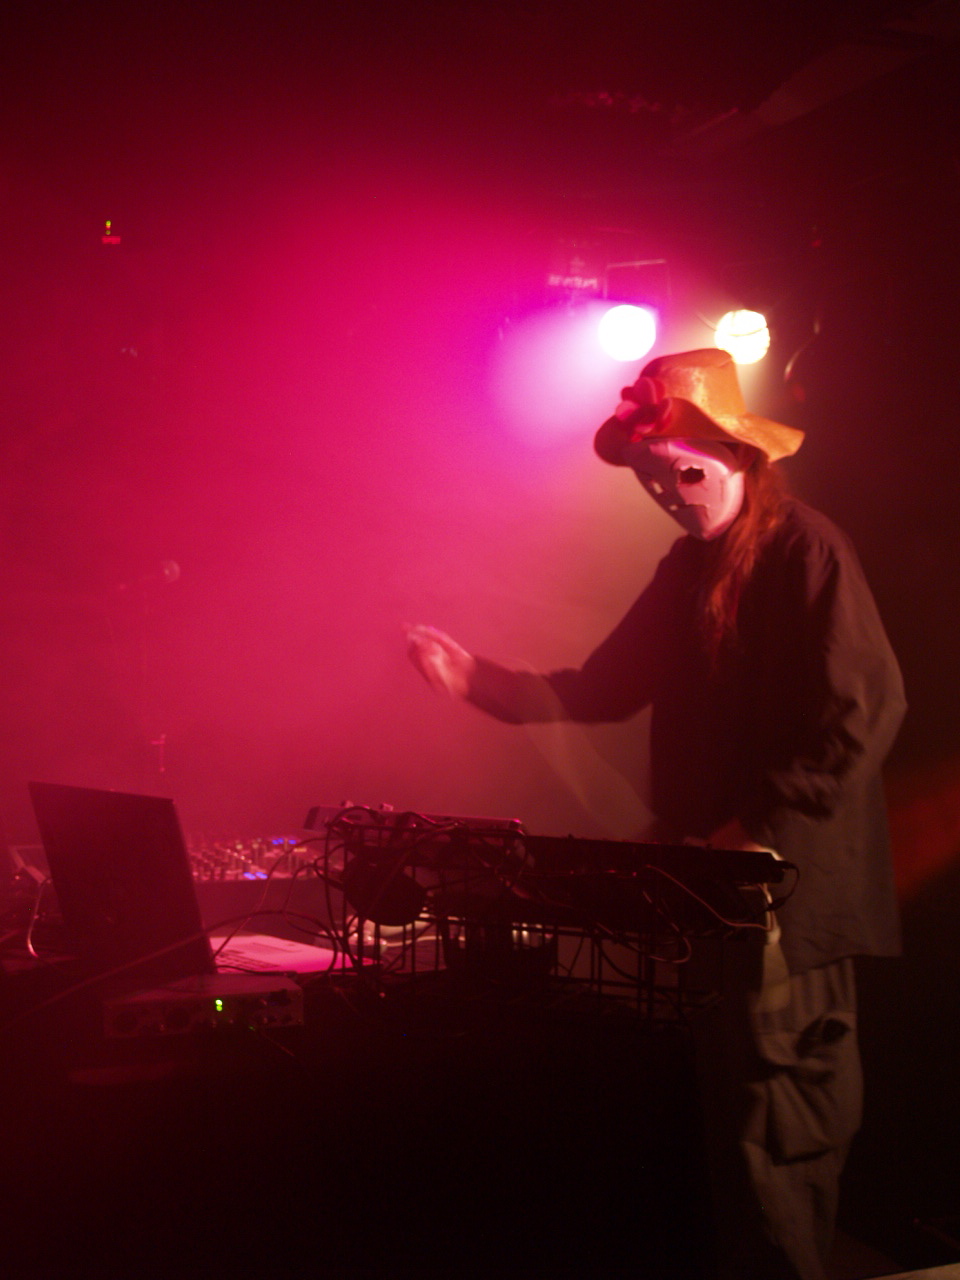
OSCulator is also very powerful. It uses a less sexy format than controllermate, but it does send midi or osc messages from wiimote to macbook via bluetooth. You can do fun stuff like make effects which switch on when you press the nunchuck’s “c” or “z” buttons and parameters tied to the nunchuck’s angle sensors, or make swinging the wiimote trigger quantized drum samples tied to the velocity and pressing different buttons changes which samples play. Here’s a picture of me swinging a controller around at Cervantes in Denver for the “Party for the Children” event in 2011.
This article goes into wayyy more detail on this methodology. Apparently OSCulator now also has “Bi-directional MIDI” with TouchOSC which sounds cool.
Speaking of TouchOSC, use that to transform your tablet or smartphone into a midi controller (or in my case, your wife and your son’s tablets since you don’t have one of your own). It’s badass too. But that’s not what we’re talking about here.
ON WINDOWS
Since i switched to windows, i now use JoyToKey for keyboard mappings and Rejoice + LoopBe1 for midi.
Neither of these methods is as powerful as the aforementioned mac options, but they are good enough for what is needed.
JoyToKey is pretty self-explanatory to use. It has a few advanced options but nowhere near the flexibility of ControllerMate. You can figure it out. I believe in you.
Rejoice doesn’t seem to have its own webpage, so i’ve linked the page it was found via. For internal midi routing the free LoopBe1 is recommend. It only has one option: “mute”. Dead simple.
In Rejoice, select your gamepad under “joystick”. Sometimes it shows the same name for multiple controllers… if so, you can figure which is which by trial and error: select each and move controls until you see numbers popping up. Actual mapping is not immediately obvious… to map a control to a midi message, click the “Add” button while pressing or moving the desired control. Then use the options and boxes to determine which midi message gets sent (example: map the “x” axis of a joystick to channel 1 cc 8 with a range of 0-127). In the “Midi Out” section choose “LoopBe Internal MIDI” (if you already have another internal midi option you can select that instead). In Ableton Live’s midi preferences make sure “LoopBe Internal Midi” is set to ON for “track” and “remote”. Now you should be able to midi map in ableton using your game controller just like any other midi controller. Proceed with mapping every button and stick of all of your gamepads, joysticks, etc until they are all set and click on “export” to save the configuration, which should automatically load next time you open rejoice.
The cool thing is, once you set up your mappings, you never have to think about it again (unless you accidentally double-book mappings). It is advised to make a plan of your midi channels if you are using multiple controllers. An idea is to dedicate one midi channel to each device–for example, “logitech attack 2” joystick sends all its values on Channel Nine. Channel Nine. Channel Nine. Channel Nine…. Joystick mapping is also neat because you can have performance effects which “snap back” to the middle. This could be really cool for fx which are “dry” in the center value but apply their effect when turned either left or right (such as so-called “one-knob filters”).
RELATED: Also check out this “How To” by Side Brain – 8 Buttons(Nintendo controller as a MIDI Controller)
SO COOL!
Congratulations, you’ve just transformed that cheap thing you got at the thrift store for a few bucks into the equivalent of a controller costing a hundred dollars.
Pat yourself on the back and go glitch some beats.
Also check out the newly curated “PerforModule Mega Collection” bundles from Isotonik Studios... the most performodule goodies you can acquire for the best price yet!
+ NEW MYSTERY PACK at Isotonik Studios COMING SOON!
What is it going to be???!!!???


Pingback: Controlling MIDI in Ableton Live with a Video Game Controller | productivemonkey
This is cool as hell. I’m definitely going to have to try this in the near future. People will walk into my studio and be like..”wait is that..?”
It is true! =)